Part 1: Setting Up Your IPEVO V4K Document Camera
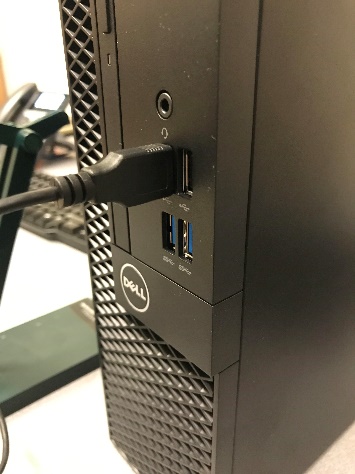
Step 1: Plug the USB end of your document camera into a USB port on either the front or back side of your computer as pictured below.
Front USB Port Back USB Port


Step 2: Log into your computer and wait a couple minutes while the document camera is getting setup. Windows will automatically install the necessary drivers for the device to function properly.
Step 3: After the device is done setting up, test it out using the built-in Camera application in Windows. If setup correctly, your document camera should display in the app when you open it. Below are photos showing this process.
Camera App Camera App (Opened)


Part 2: Using Your IPEVO 4K Document Camera with Google Meets
Step 1: Before using your IPEVO Document Camera in a Google Meets session, make sure that all other applications using your document camera are closed. Two applications cannot use the camera at the same time and this will cause the camera to not work.
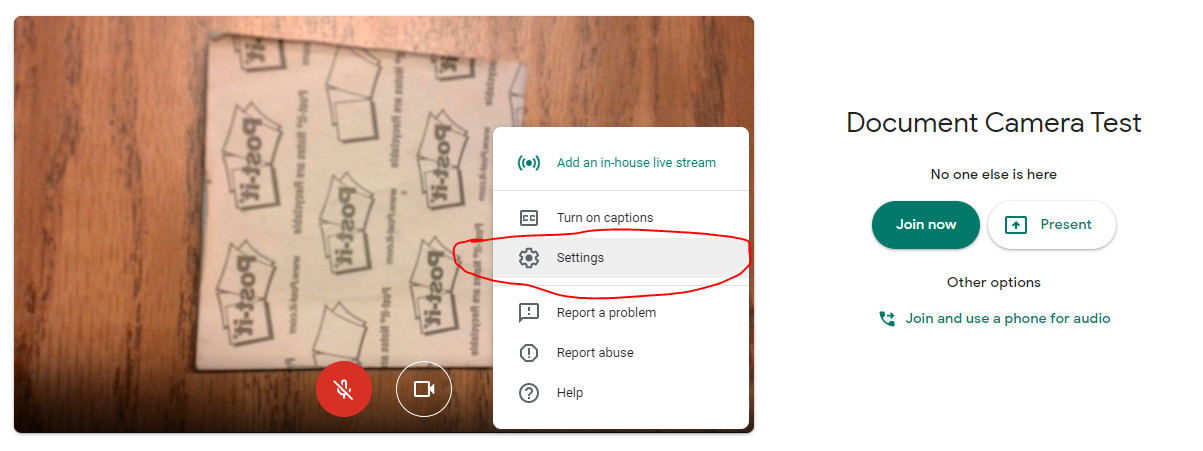
Step 2: When you join your Google Meets session, if the camera does not show up you may have to switch to it. Below I’ve attached photos with directions that will show you how to do this.
- Select “More options” on the test screen prior to joining your meeting

- From the “More options” menu, select the “Settings” option with the gear pictured next to it

C. To avoid echo, make sure your microphone and speakers are coming from the same source. Make sure your selection is the same in each as pictured below. After doing this, click the Video option located in top right corner of the settings box.

- Once in the video menu, make sure that IPEVO V4K is selected as your camera. Leave the “Send resolution” and “Receive resolution” at (360p). When you’re finished select “Done”.

You’re now done setting up your IPEVO V4K Document Camera for use with Google Meets.


